Turning a Sloped Escarpment Yard Into Usable Space
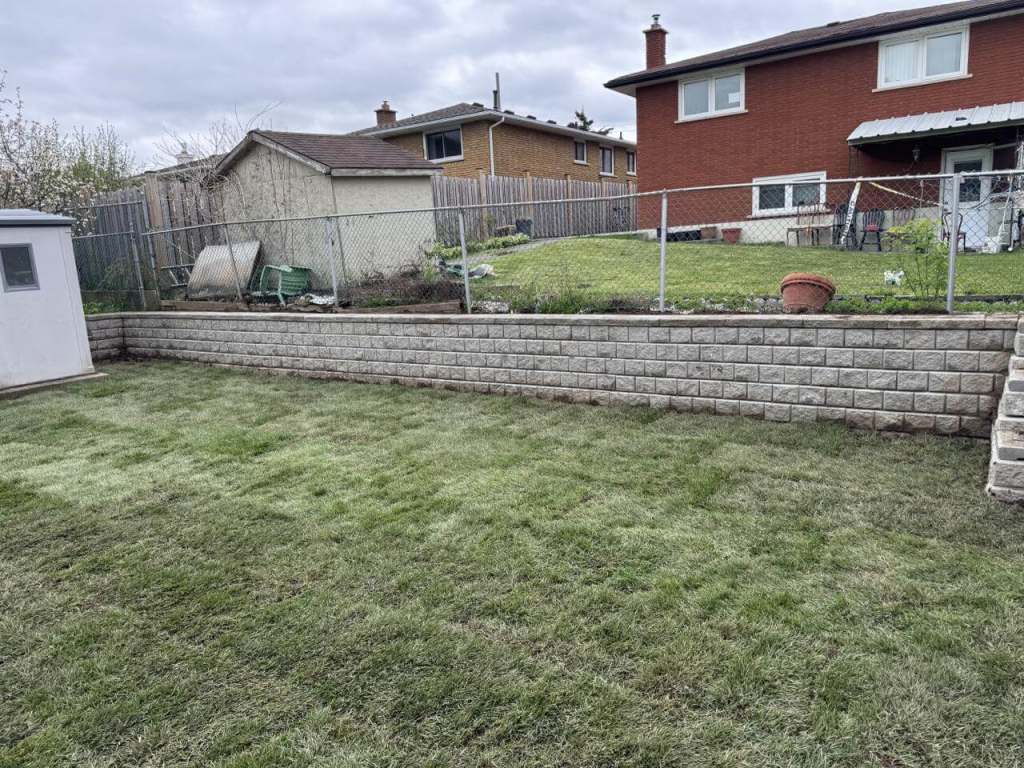
A sloped yard becomes usable space by cutting it into levels: a retaining wall or two holds the grade, each level gets a flat floor of lawn, patio or garden, and steps join them. Done in the right order, with drainage behind every wall, a slope you could only mow sideways turns into the best part of the property.
Hamilton has more of these yards than most cities, because the escarpment runs right through it. Homes along the Mountain brow, in Dundas, on the Ancaster side and down through the lower city all sit on ground that was never flat. Here is how we approach them as retaining wall work in Hamilton, and what to think about before you call.
Start with what you want to do out there
A slope is not a problem to be flattened; it is a yard with built-in rooms. Before any wall is drawn, decide what the rooms are. A patio for dinner near the door. A flat lawn for the kids or the dog. A garden terrace that catches the afternoon sun. A spot at the bottom that is quiet and private. Each one wants a level floor, and the walls go where the floors meet. Starting from the uses, rather than from the walls, gives you a yard that works instead of a yard with walls in it.
How the levels get made
Cut and fill
Each level is made by cutting into the high side and filling on the low side, so the soil moves across the yard rather than off it. The wall holds the cut face. Keeping the levels modest, two or three steps of change rather than one big one, keeps the walls lower, cheaper and more pleasant to live beside.
The walls
A low wall of a foot or two can be block or armour stone on a compacted clear gravel base, built level and true with the caps set on adhesive, and backfilled so water drains away from it. A taller wall needs more: a deeper base, courses stepped back into the slope, geogrid reinforcement laid into the backfill, and a perforated pipe at the base to let the water out. Water pressure behind a wall is what pushes it over, so the drainage is not optional on a slope. Our post on armour stone versus block walls covers the choice of material.
The steps
Steps between levels are built as part of the walls, on the same base, with equal rises and deep treads. A straight run of steps is cheapest; a turn with a landing is friendlier on a long drop and makes a good spot for a planter.
The floors
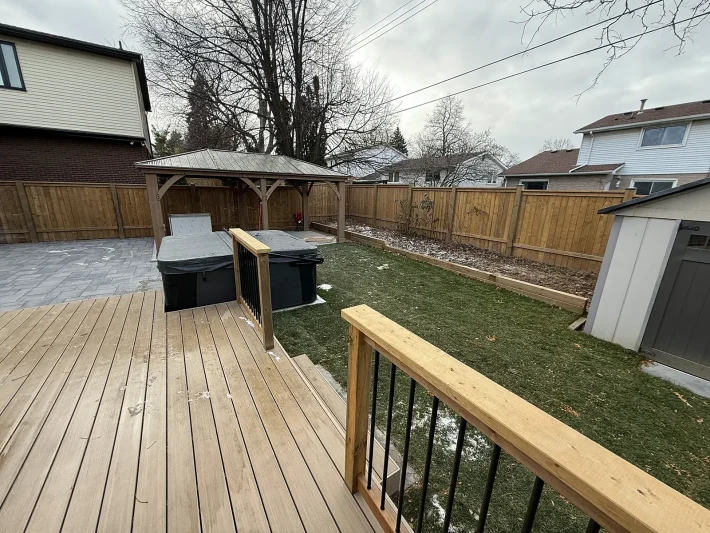
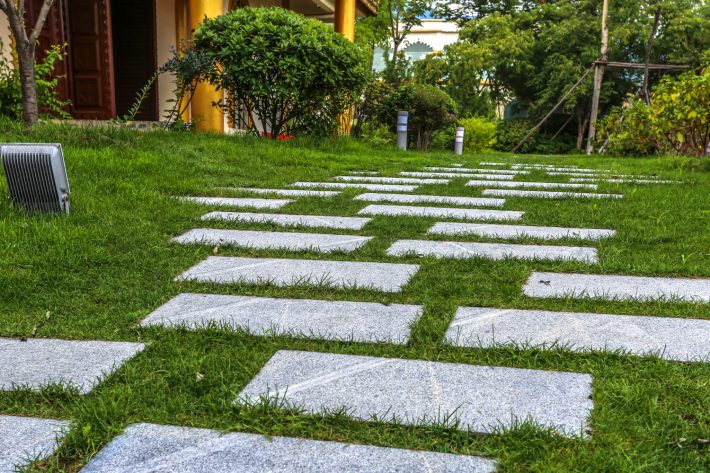
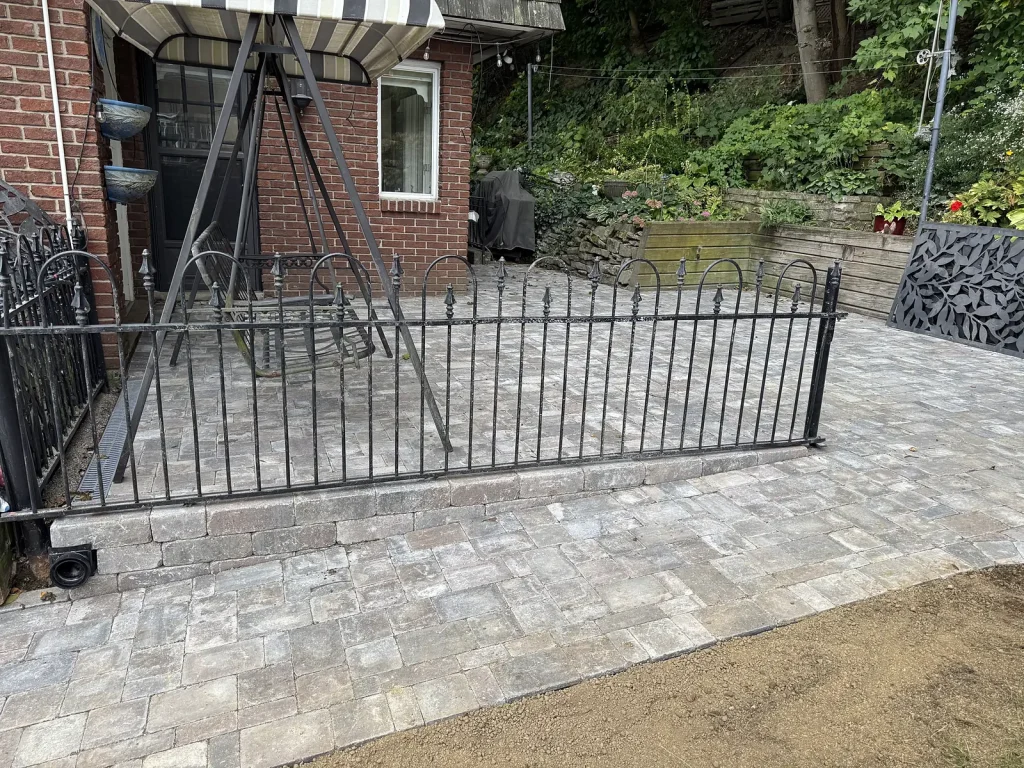
Once a level is cut and held, it gets its floor. A patio goes on a compacted bedding base graded to fall away from the house; see interlock patios in Hamilton. A lawn gets topsoil and sod. A garden terrace gets soil, fabric, plants and mulch.
Where the water goes
A slope collects water from everything above it. Every level needs to shed its rain to the side, into a swale or a drain, rather than over the wall below or against the house. On the escarpment the ground is often shallow over rock, so water moves fast and sideways after a storm. We look at the whole slope, including what the neighbours’ yards send down, before anything is built. The yard drainage page explains the tools: swales, French drains, catch basins and downspout runs.
The order the work goes in
- Measure the grade and shoot levels across the yard, so every wall height and step is known before the quote.
- Locates for buried services, which is free through Ontario One Call and takes about five business days.
- Clear and cut, from the top of the yard down, so the machine always has a place to stand.
- Build the walls and the steps from the bottom up, with drainage behind each as it goes.
- Backfill and compact in layers, then grade each level to drain.
- Lay the floors: patio, lawn, garden.
- Put the edges back and clean up.
A two level backyard is typically a week or two of work, depending on the size of the walls and the access. Steep side yards and tight gates mean more of the stone moves by hand, which we allow for in the quote.
Keeping the cost sensible
- Fewer, lower walls beat one tall one. A tall wall is engineered; a low one is a garden feature.
- Put the patio where the yard is already closest to level, so the cut is small.
- Leave the steepest, farthest corner as a planted bank with groundcover rather than a wall and a floor. It costs little and looks right.
- Phase it. Walls and drainage first, floors next year if the budget needs it. The walls are what cannot be done later without redoing everything.
Frequently asked questions
Can a retaining wall make my sloped yard usable?
Yes. That is exactly what one is for. Most sloped Hamilton backyards need two low walls and a run of steps to gain a patio and a flat lawn.
Do you need to see the yard to quote it?
For a slope, yes. The wall heights and the drainage depend on the levels, and those have to be measured. Many smaller jobs we quote by phone, text or email, but not this one.
Do I need a permit for a retaining wall?
Low garden walls usually do not. Taller walls and walls near a lot line or a slope can need one, and the rules vary by municipality. We tell you before we quote whether yours does.
Let us look at your slope
Call (905) 906-0671 or send the form on our contact page with a photo taken from the house looking down the yard. We are quick to quote, quick to start, and we answer every call.